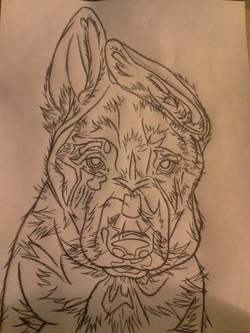
Step 4: Completing the Outline
During this step, I go over ever line in the drawing with ink. This includes all the fuzzy hair and shadows. This is last step before applying the final shadows and basically "coloring" the image. (In this case, it's not so much coloring, as it is shading.)
During this step, I go over ever line in the drawing with ink. This includes all the fuzzy hair and shadows. This is last step before applying the final shadows and basically "coloring" the image. (In this case, it's not so much coloring, as it is shading.)
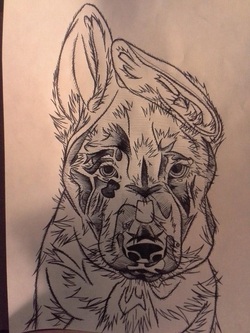
Step 5: Shading
During this step, I look for the deepest shadows in the picture. These are the darkest parts (the black) of the original picture. In this case, the nose and pupils are some of the deepest darks of the image. I start with those and try to start out with light shading, because you can always go darker from there, but you unfortunately can't go backwards once you go too dark.
This step also includes shading behind the fluffy hair. Everything leaves a shadow, even a tiny hair follicle.
Step 6: Scanning and Cleaning the Image
Once all of the shading is completed and I'm satisfied with the end product, I put my signature (symbol) on one corner of the original. After that, I use a photo scanner to digitize the image. After that, I use Adobe to clean the background and enhance the image. This is how you get a cleaner and crisper copy of the original image, without all the blemishes and wrinkles in the original paper.
At this point, I would add a watermark to protect my image, but in this case, I didn't want anything to draw away from the portrait.
Now, this portrait is ready for prints and can be sold in the Store.
 RSS Feed